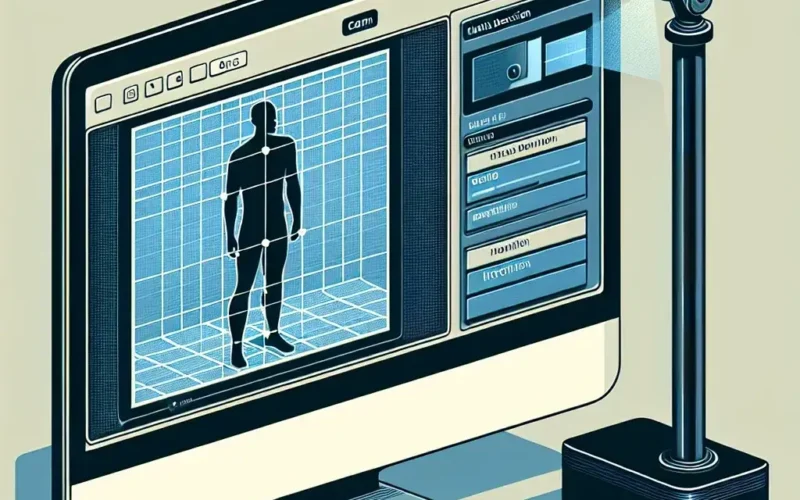
The advent of motion detection technology has brought significant advancements in home security, automation, and monitoring. Thanks to modern software solutions, you can easily set up motion detection with your existing webcam. This guide will walk you through the process step-by-step.
Why Use Motion Detection with Your Webcam?
Motion detection allows you to monitor any movement in a specific area, transforming your ordinary webcam into a potent surveillance tool. Here are some primary reasons to consider using motion detection:
- Home Security: Monitor your home remotely in real-time.
- Office Monitoring: Keep an eye on your office space after hours.
- Pet Monitoring: Check in on your pets while you’re away.
- Automation: Automate actions such as turning on lights when motion is detected.
Choosing the Right Software
There are several software options available that can enable motion detection for your webcam. Here are some popular choices:
| Software | Operating System | Free/Paid | Features |
|---|---|---|---|
| iSpy | Windows | Free/Paid | Remote viewing, alerts, recording |
| Yawcam | Windows | Free | Email alerts, FTP upload, video streaming |
| MotionEye | Linux, Windows | Free | Web-based UI, video storage, alerts |
| Sentry Vision Security | Windows | Free | Motion detection, remote access |
| SecuritySpy | Mac | Paid | High-performance, multiple cameras |
Step-by-Step Guide to Setting Up Motion Detection
Step 1: Install the Software
Download and install your chosen software. For simplicity, we’ll use Yawcam as an example.
Step 2: Connect Your Webcam
Ensure that your webcam is properly connected to your computer. Most software will automatically detect the webcam upon installation.
Step 3: Configure Motion Detection Settings
- Open the software: Launch Yawcam.
- Access motion detection settings: Navigate to the “Settings” tab and select “Motion Detection.”
- Adjust sensitivity: Fine-tune the sensitivity to ensure that minor movements don’t trigger alerts unnecessarily.
- Set detection areas: Define specific areas in the camera’s view where you want to monitor movement.
Step 4: Set Up Alerts
Decide how you want to be notified when motion is detected. Options usually include emails, text messages, or app notifications.
- Enable alerts: In Yawcam, you can set up email alerts under the “Notifications” tab.
- Input settings: Enter your email server details and recipient email addresses.
Step 5: Video Recording
Configure the software to record videos when motion is detected. This is useful for reviewing incidents later.
- Enable recording: In Yawcam, go to the “Actions” tab and select “Save video” upon motion detection.
- Choose storage location: Specify where you want to save the video files on your computer.
Step 6: Test the Setup
Test your motion detection setup to ensure everything is working correctly. Walk in front of the camera to see if alerts are received and videos are recorded.
Additional Tips
For optimal performance, pay attention to the following tips:
- Lighting: Ensure the area under surveillance is well-lit to improve motion detection accuracy.
- Camera Placement: Position your camera to cover the maximum area of interest.
- Regular Maintenance: Periodically check and update the software to maintain functionality.
- Internet Connection: A stable connection is essential for real-time alerts and remote access.
Conclusion
Setting up motion detection with your webcam is a practical and cost-effective way to enhance security and automate monitoring of your space. By following these steps and tips, you can transform a simple webcam into a powerful surveillance tool. Always choose the software that best fits your requirements and keep it updated for optimal performance.


